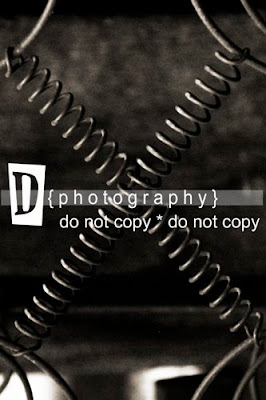
1) Create a New blank file, and make it approximately 6 inches wide, 2 inches high, 300 dpi, with a transparent background. This will make a brush that will watermark a pretty large image, but you can always make your brush bigger if you want by making your blank file bigger.
2) Add graphics you have and text (using the Text Tool) in whatever format you want.
3) With the Marquee tool, draw a box around (select) everything you want in your logo.
4) Once it is selected (you'll see the marching ants), click on Edit, Define Brush from Selection.
5) Name your brush and click on OK.
Select your brush tool. Your brush should be the last brush in the brush pull-down menu. You can always change the size of your brush too to more closely match the size of your image. You can also change the color of your brush.
Here is a visual and description (afterall, I am a visual learner myself).
This is where the brush tool is located:
A description of where the brush options are and how to change them:
This is what the color selector looks like:
6) As a side note, I always save the file I created as a .psd so if I want to go back and change/add anything later, I don't have to start from scratch.
ETA: I have changed my logo several times since origially creating this tutorial. It has been super easy to go back and open the .psd file and change fonts and add/subtract text.
Here is an image. I can't believe it was so easy.


2 comments:
My question is where did you get the cool looking D from? Did you download of the internet? This is where I get confused where do you get cool graphics?
Post a Comment