![](https://blogger.googleusercontent.com/img/b/R29vZ2xl/AVvXsEhOAU98dFMRer7F99GBuhPb5b0Y6dJxg_8OHW8Wl1nqNfdIykmP1SEdQR5D0iCzUET5tPUQeub3wuKiuyICu_iUJjZtSSyhQXZ9xFNyQ5p1MYWKz-po0THV3B3Um2IZpbL_uTk_i4ps6qEX/s400/texture+final2.jpg)
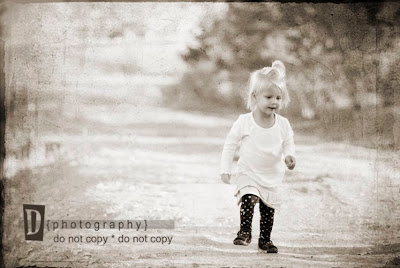
Another photoshop skill I have been wanting to use is adding texture. There are some beautiful photos out there with texture. I don't ever want to get caught going overboard with it but here is how you do it - at least this is what I taught myself to do.
I started with my texture photo (from flickr) and my edited photo.
![](https://blogger.googleusercontent.com/img/b/R29vZ2xl/AVvXsEhKrXNy9QzhQV2HZC25jzAKdOlda0KaXLHaZqHh-M_jjUeH5hf6ZXJ84CB8UUpGEquIMjdh_uRsgG_kV-64YXczxKGemuD9jJ7NLOmVu-jlsftci4AQjoiosfkBktkepEFJMXVRJW7Ov2Sb/s400/texture.jpg)
I then drug my texture on top of my photo and made it the same size (or larger) as my photo)
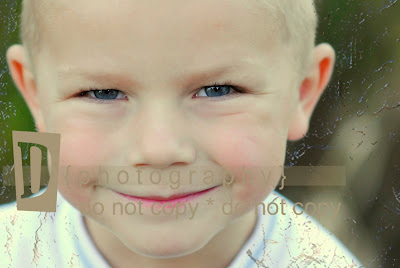
On the texture layer I reduced the opacity to 50% and changed the blending option to Pin Light (you have several options). I then erased (on the texture layer) around the face/skin/ears.
Then I flattened image and added a watermark. Whala....
![](https://blogger.googleusercontent.com/img/b/R29vZ2xl/AVvXsEilr-KEcZBjJqTg-zH2_aQyfTn8xT-CA_LnfQgq3GN5JIbDEDkE2pOE4VmBVIoWXA5ROFhD88S8HVAGv-TC2II0lmEonRJoTUwcQZMHpBBcbxrHvv2pRlvmsD_WPyEKqDXyTz0ZDoPOTYkl/s400/texture+final.jpg)
Another texture
![](https://blogger.googleusercontent.com/img/b/R29vZ2xl/AVvXsEg1-c5hCeu3COyj2-wALOUA0BhtkcsquVz9qHLg5hw3jCm7KbQhTOtivTKrsjJ0zmv9ukDWsvcQWUg07tanX29krpdlQMDw_0t2YFV3fJEzn21NAOFfsVxSERvXbjEouqeWov2dt-otpbE-/s400/feet.jpg)
2 comments:
Cool tip thanks, looks neat.
Hey - what's your flickr username?
Mine's kristy_mayer - you'll have to add me!
Post a Comment